Skip to content
Home
About
Booking & Prices
Duke of Edinburgh
Terms & Conditions
Directions
Gallery
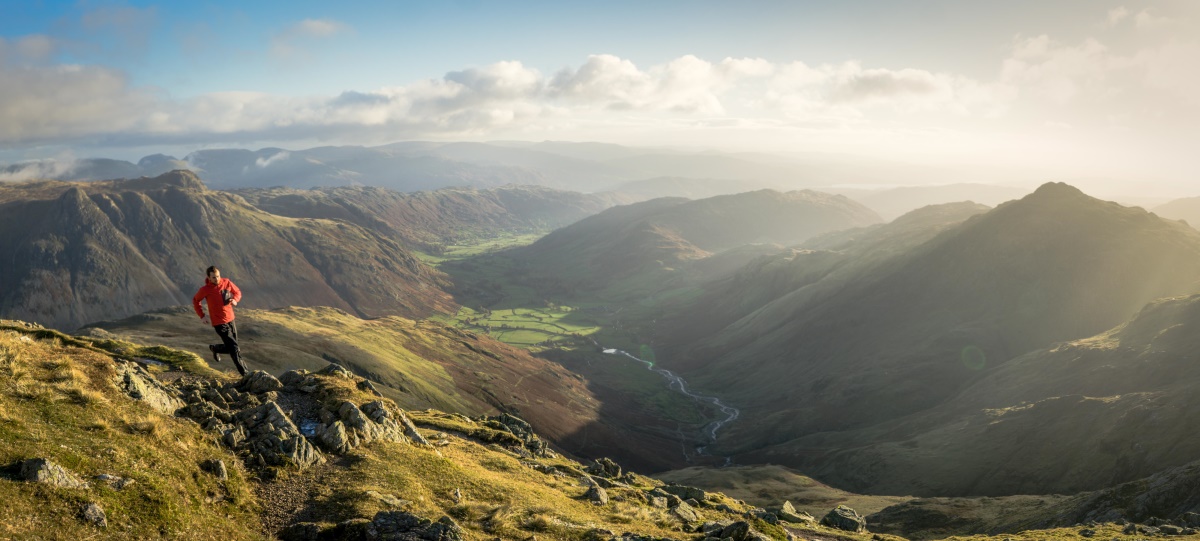
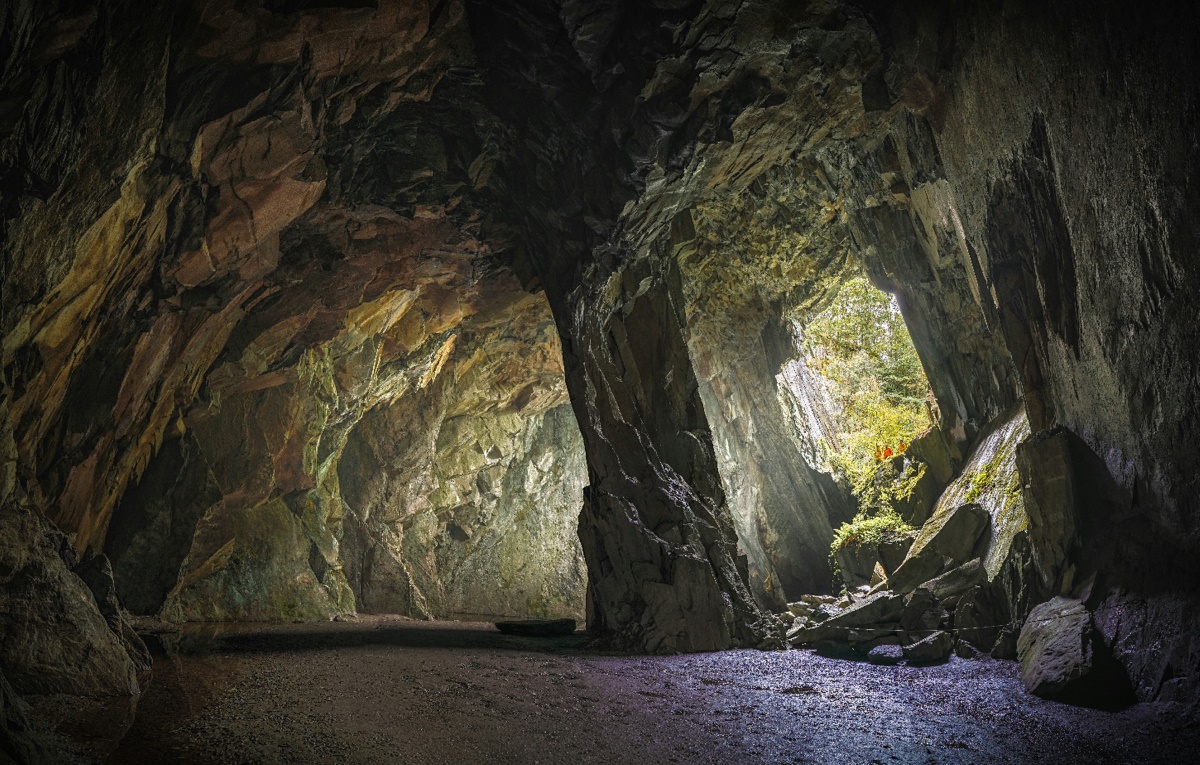
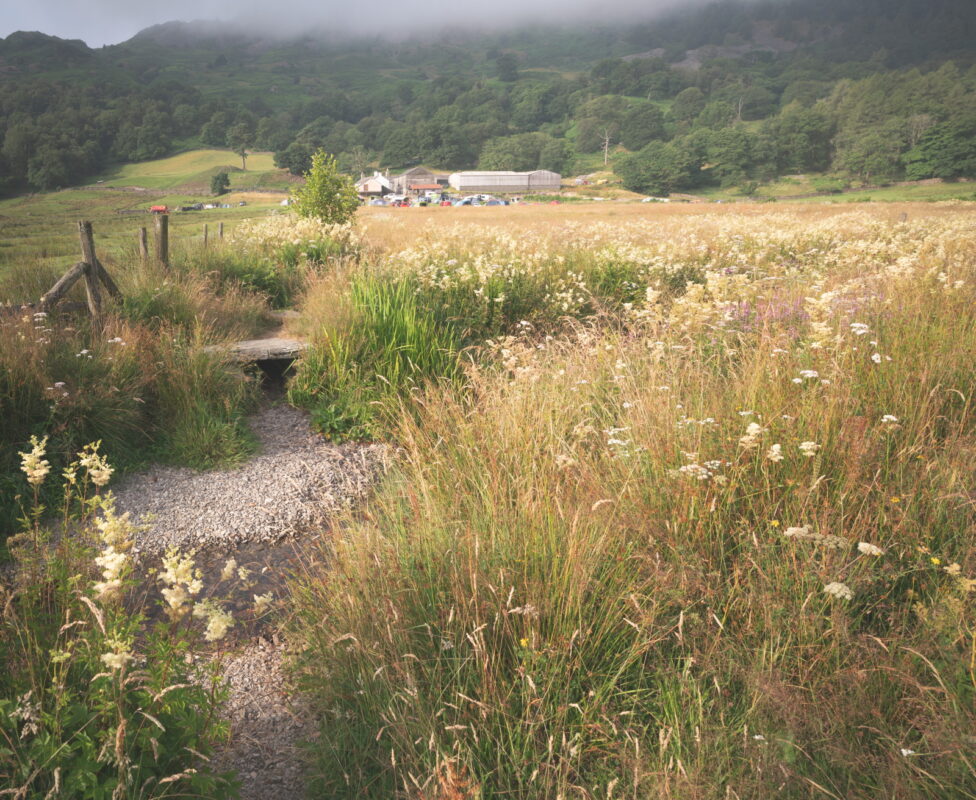
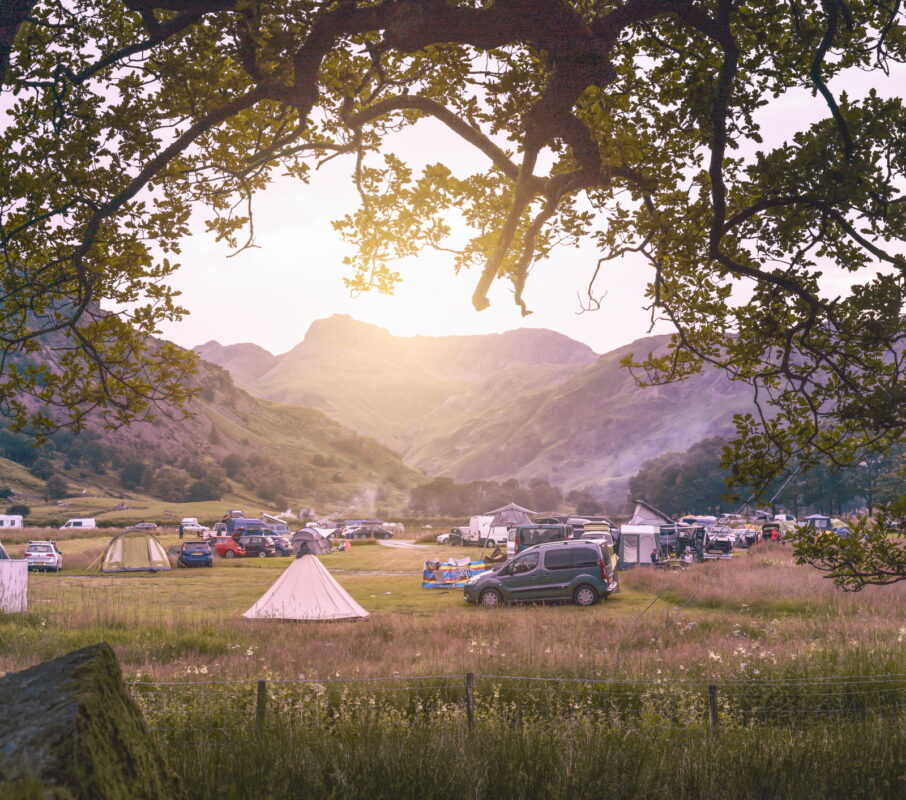
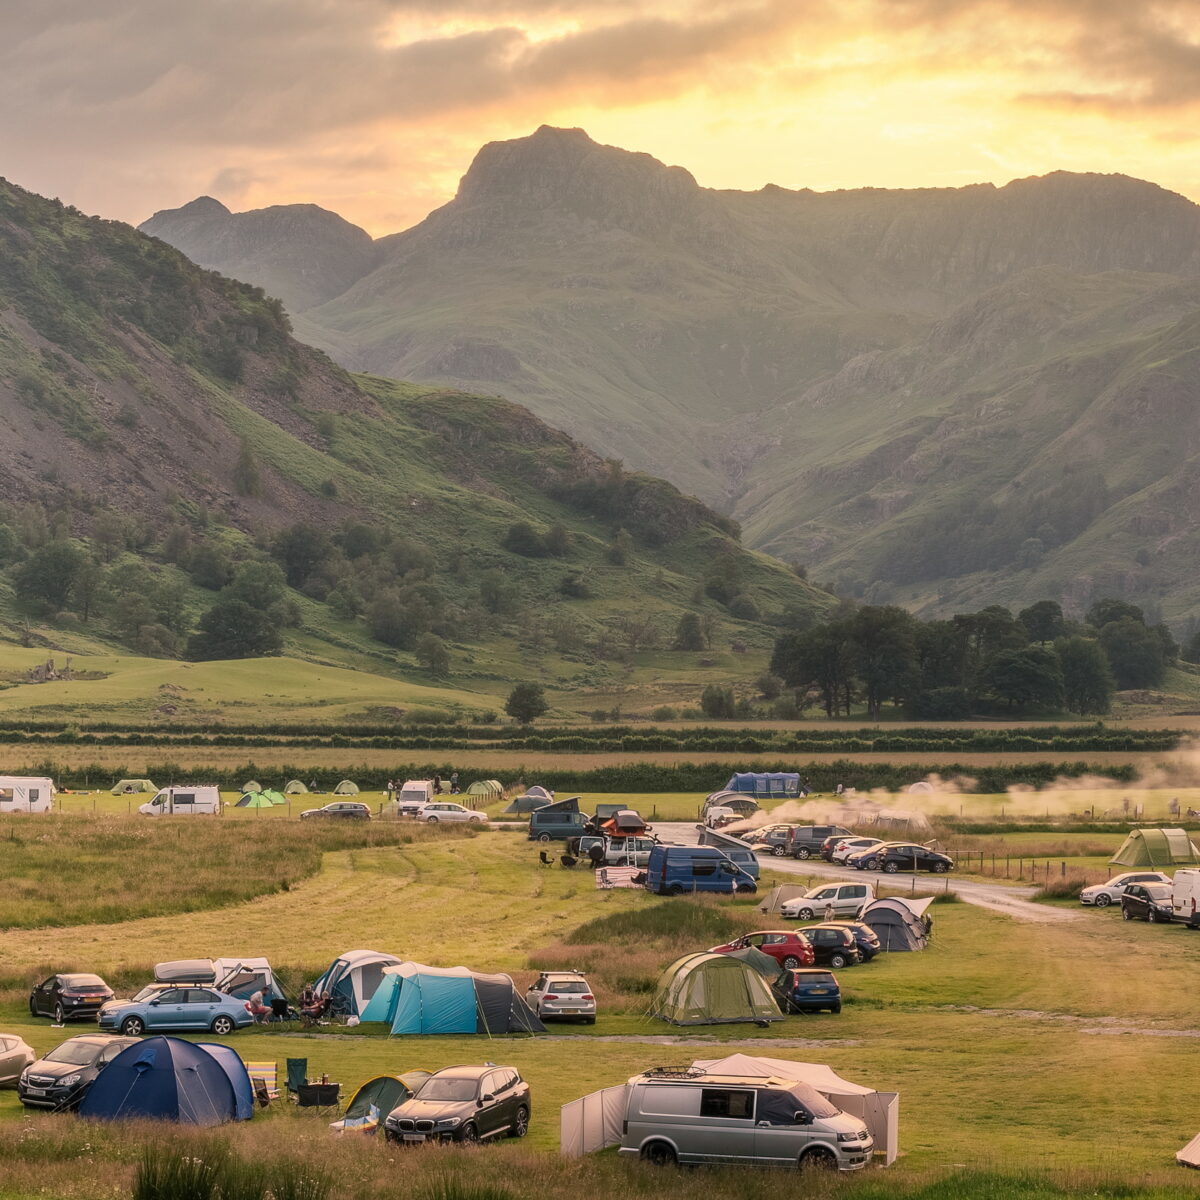
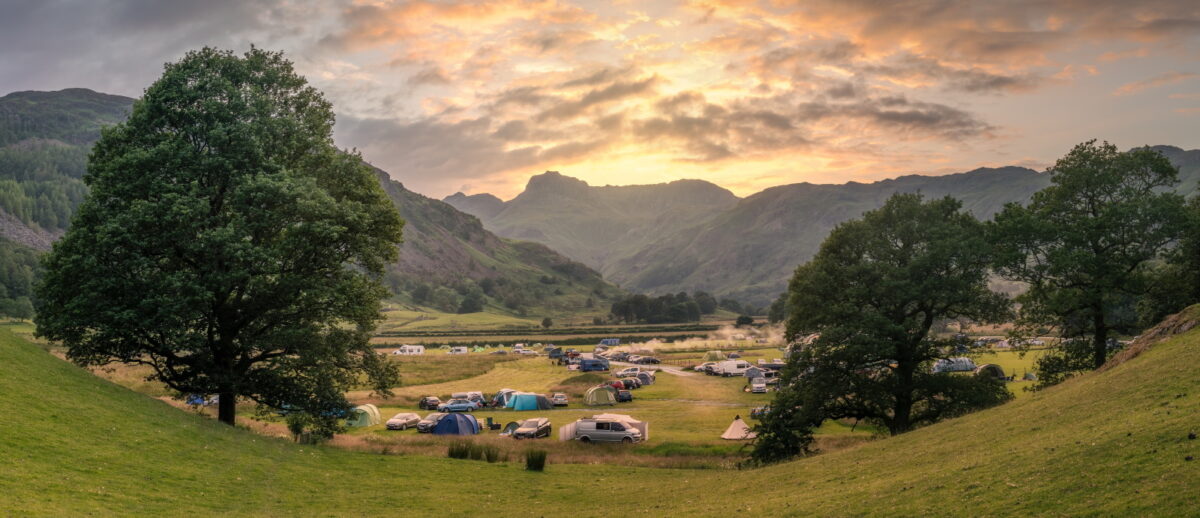
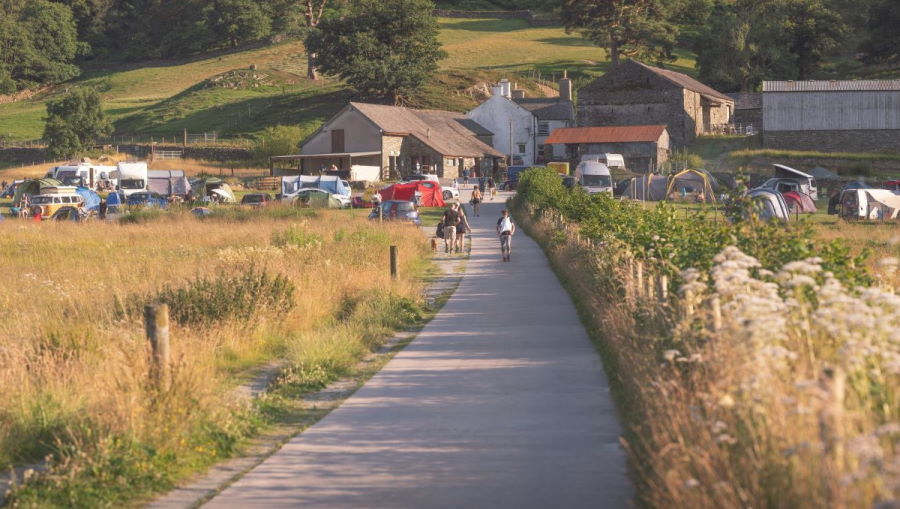
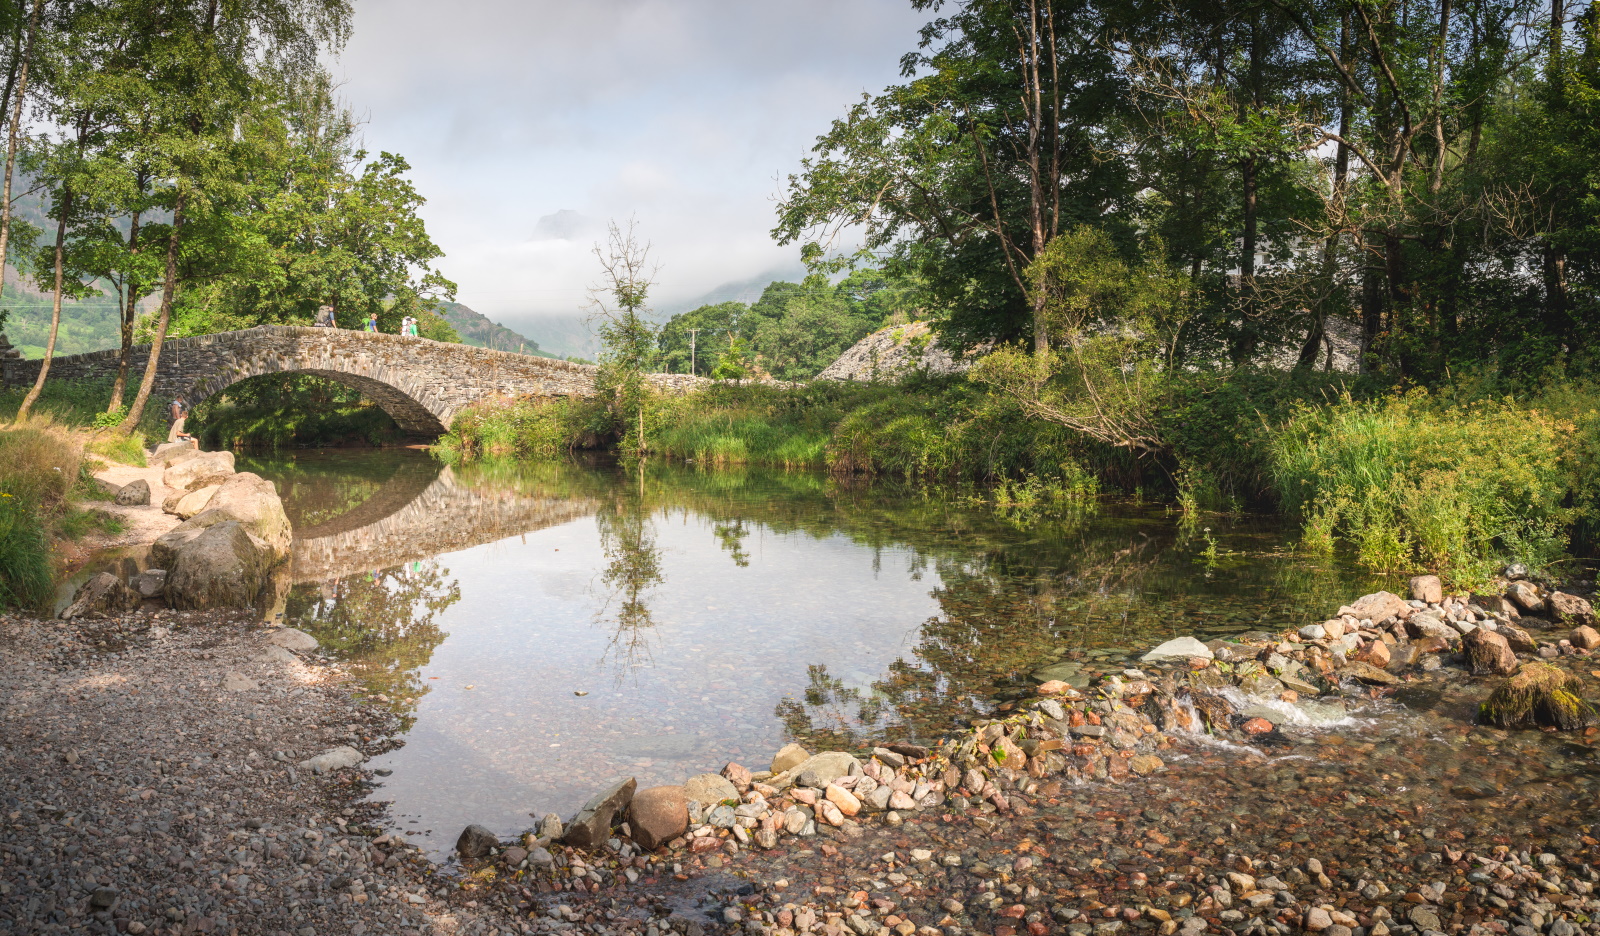
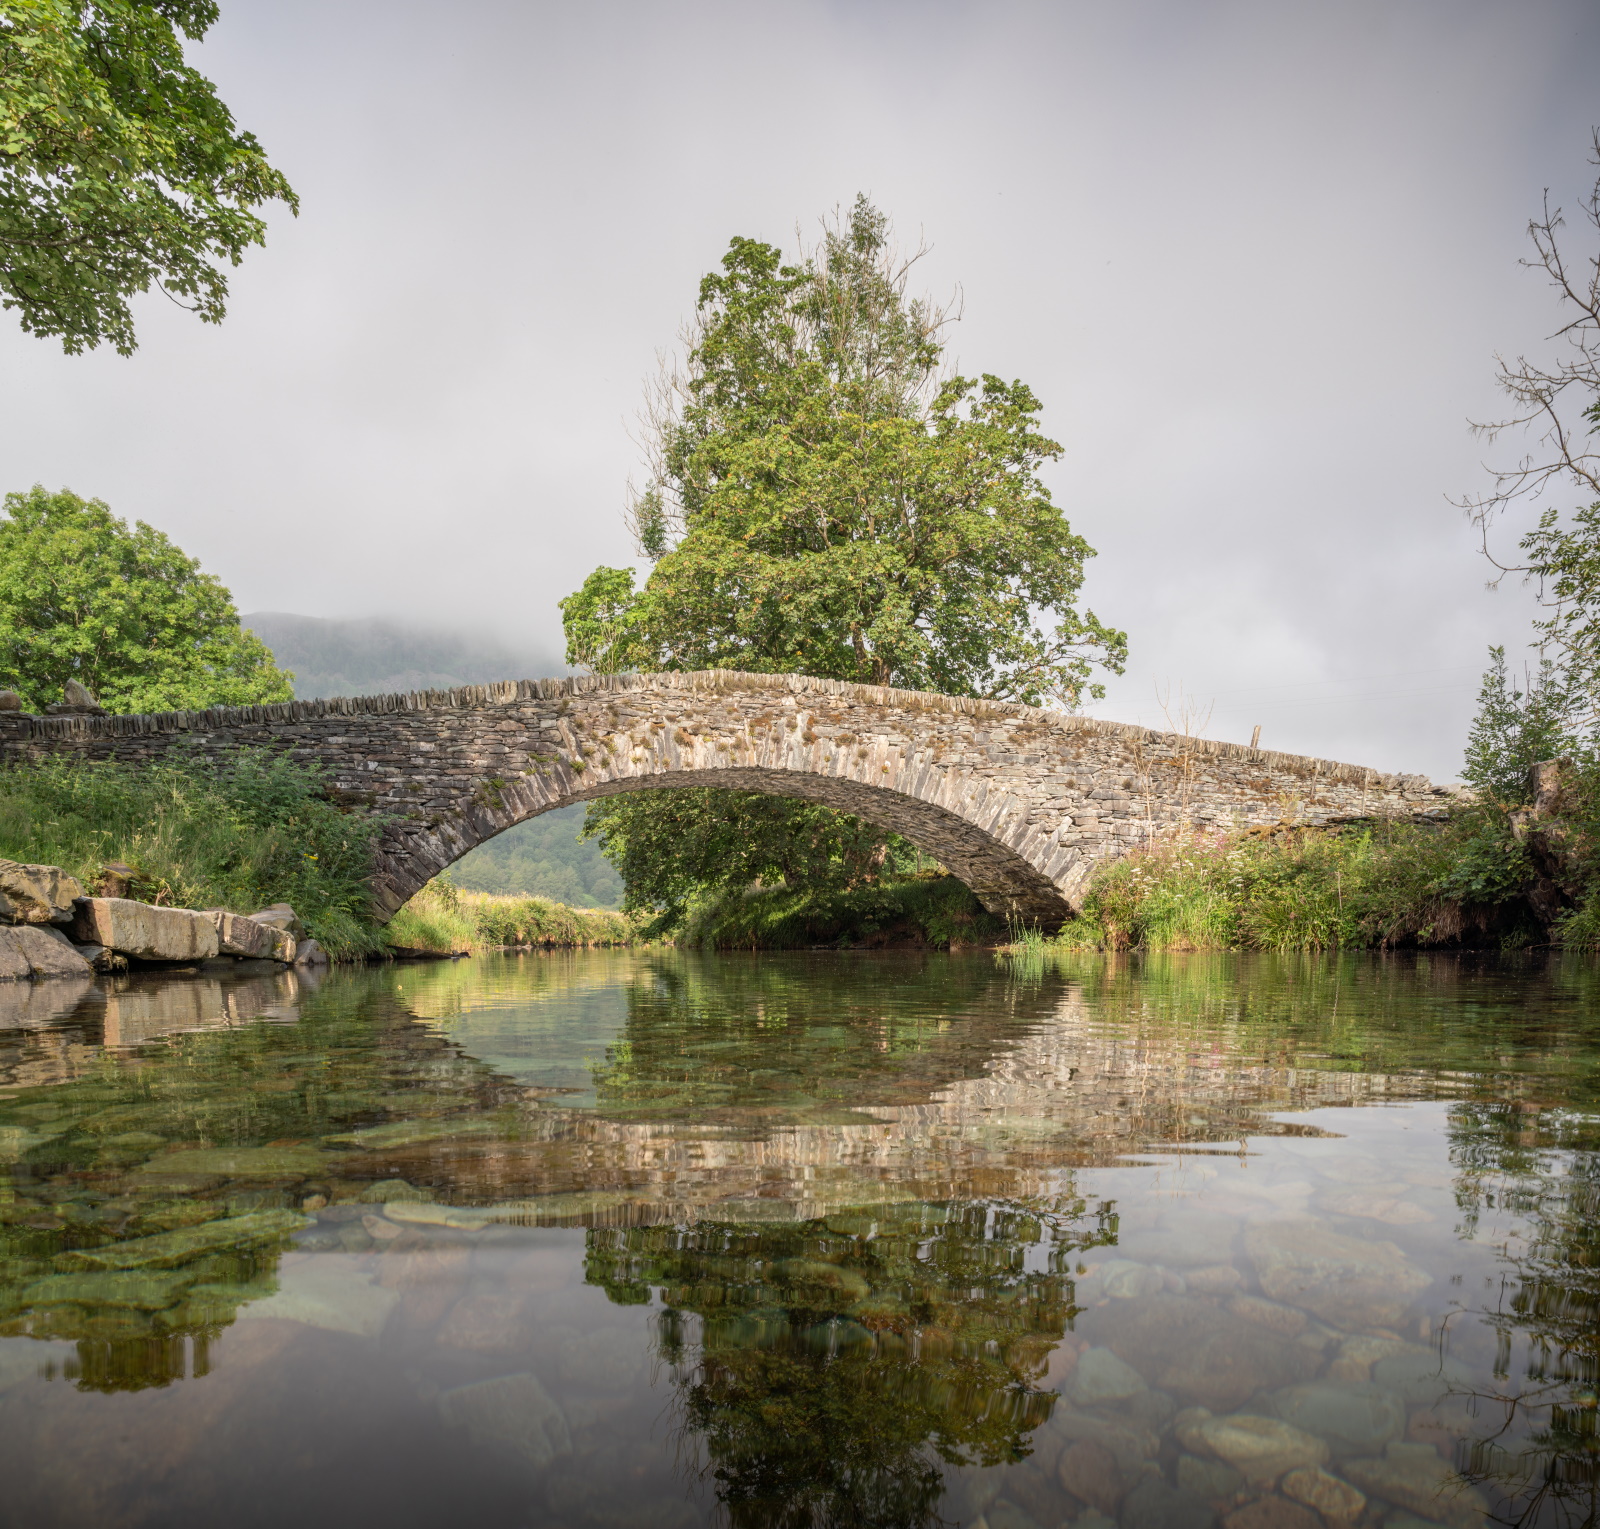
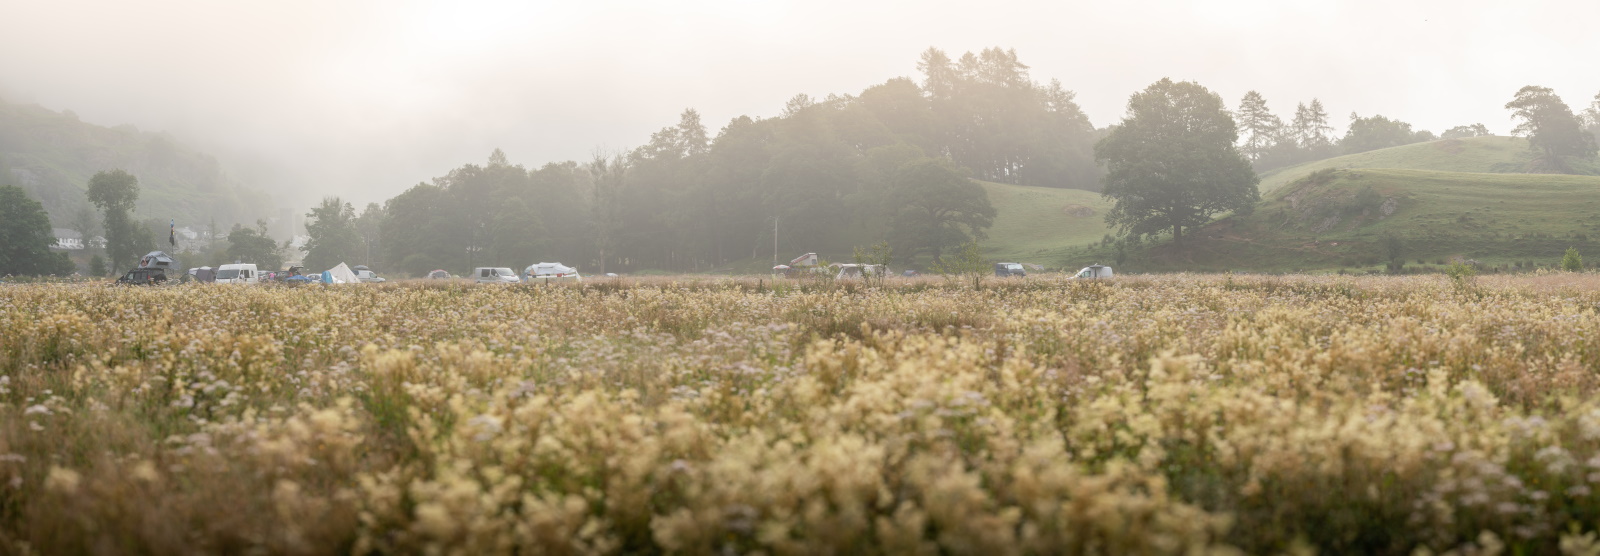
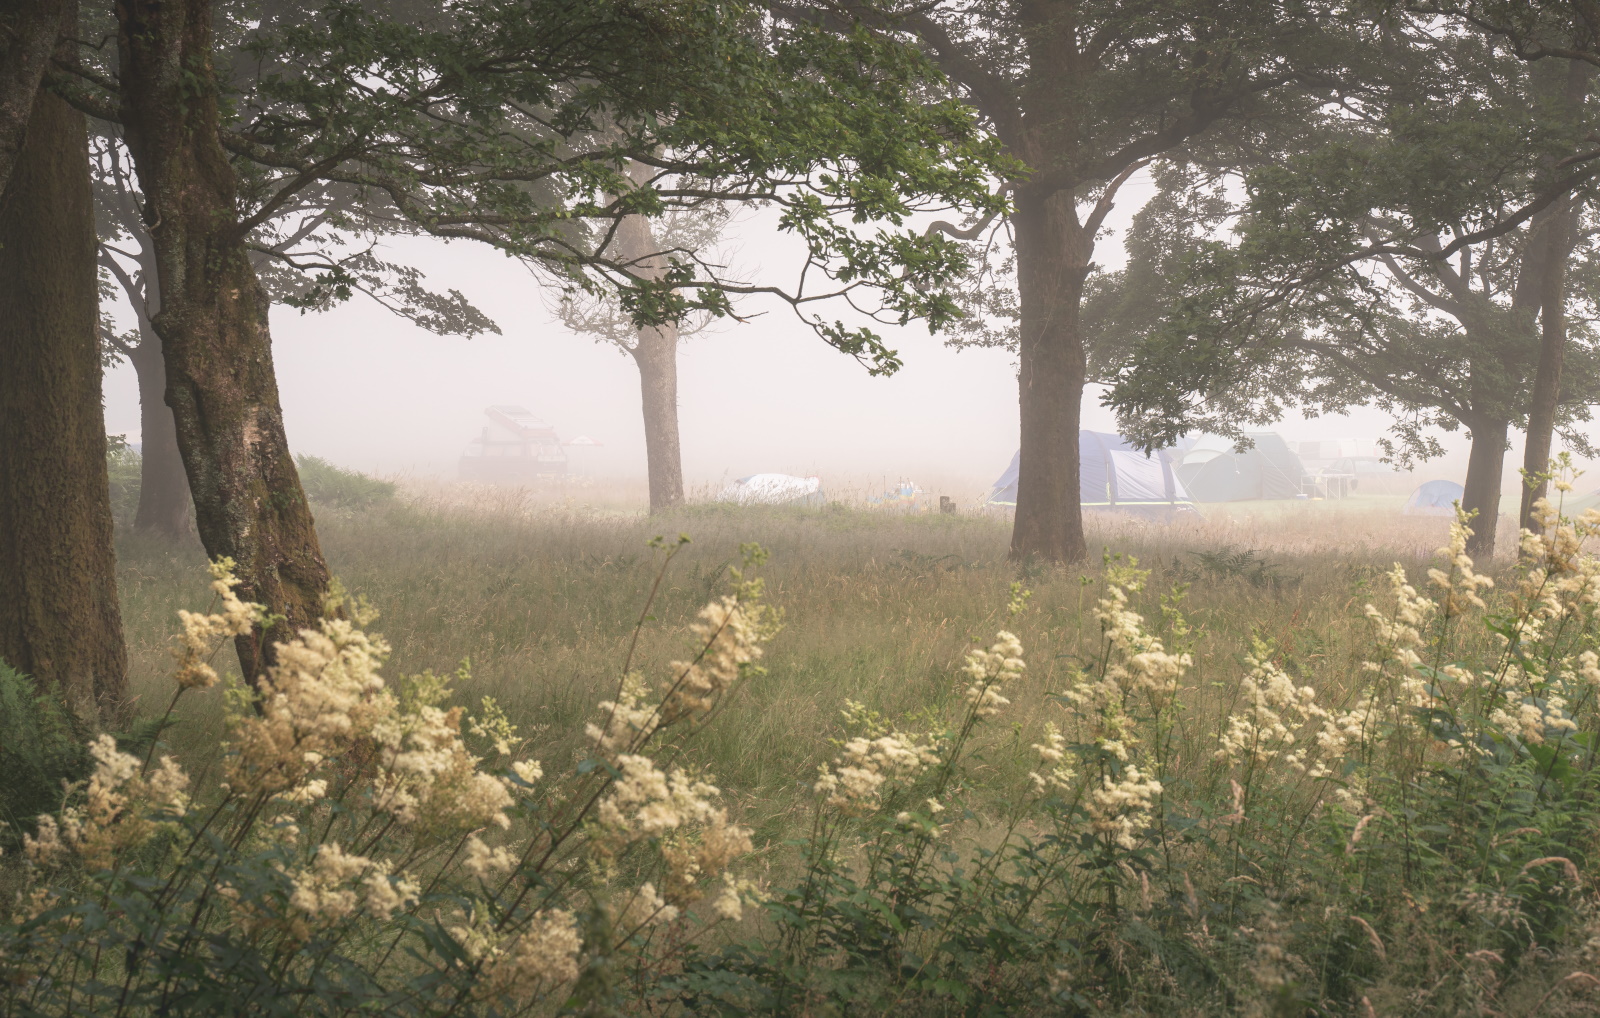
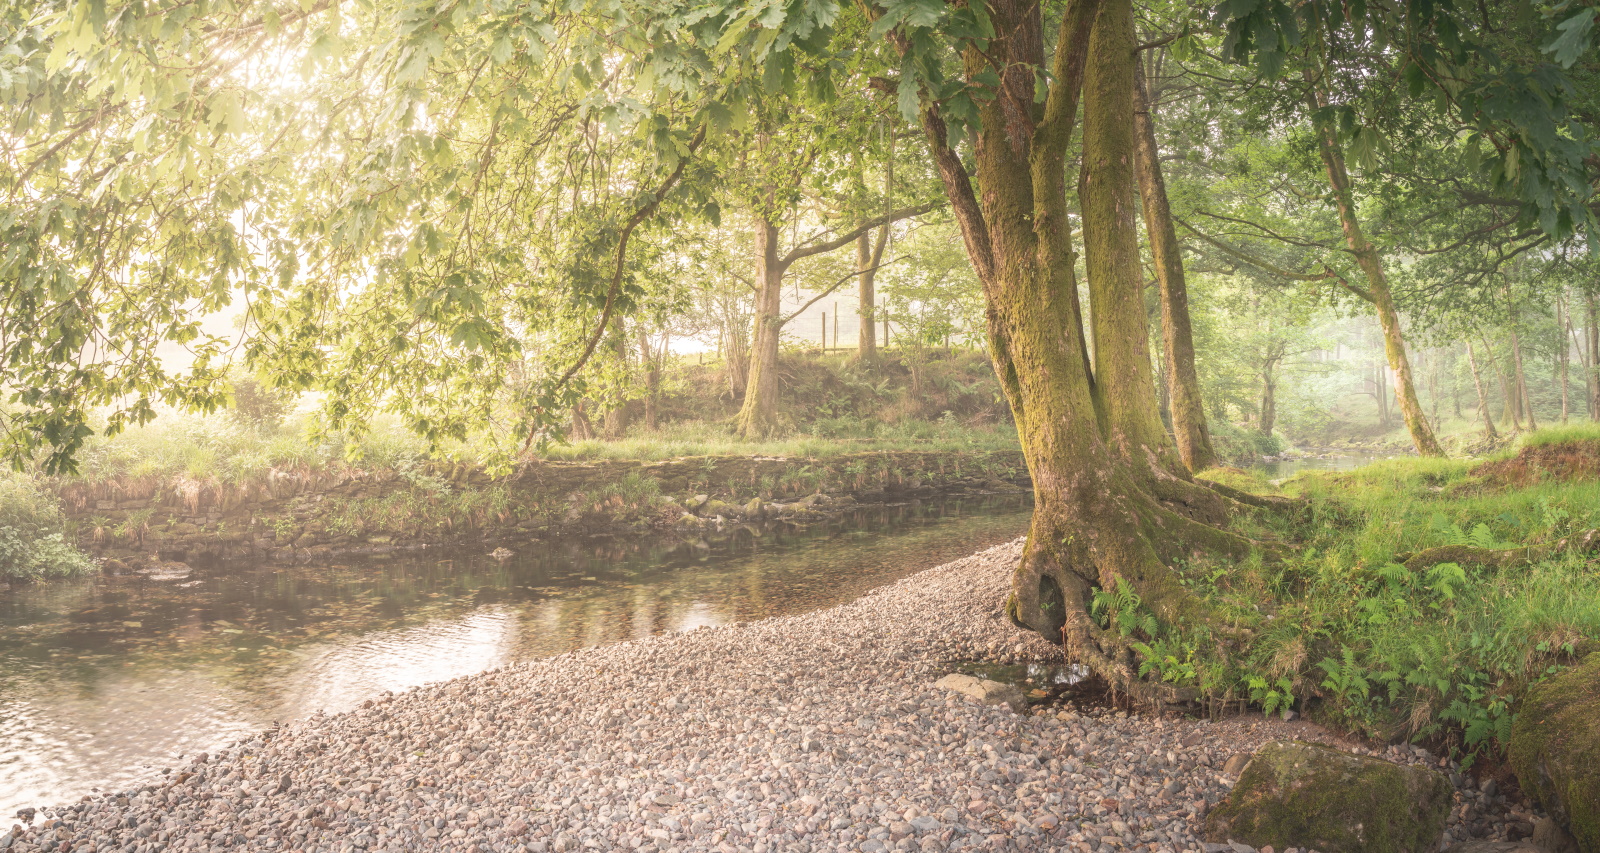
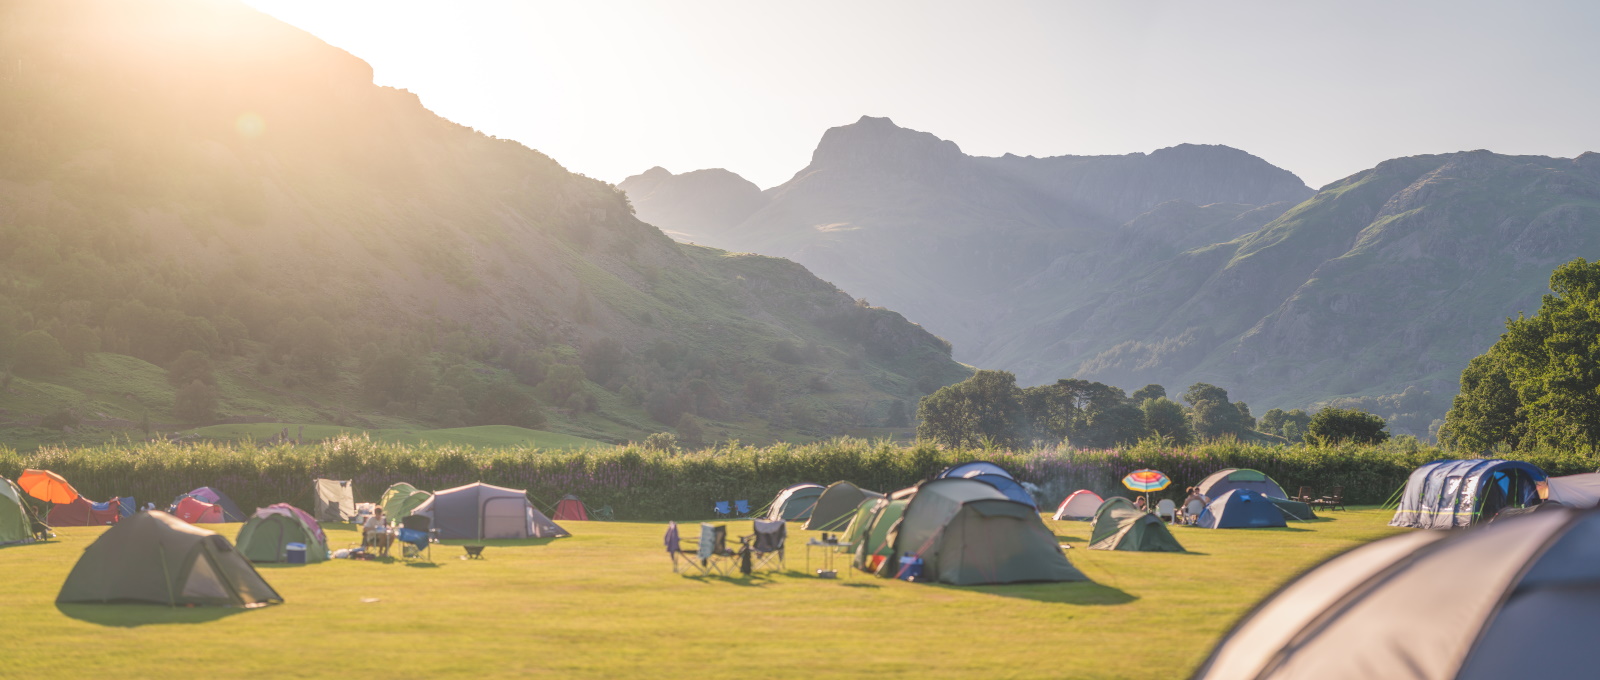
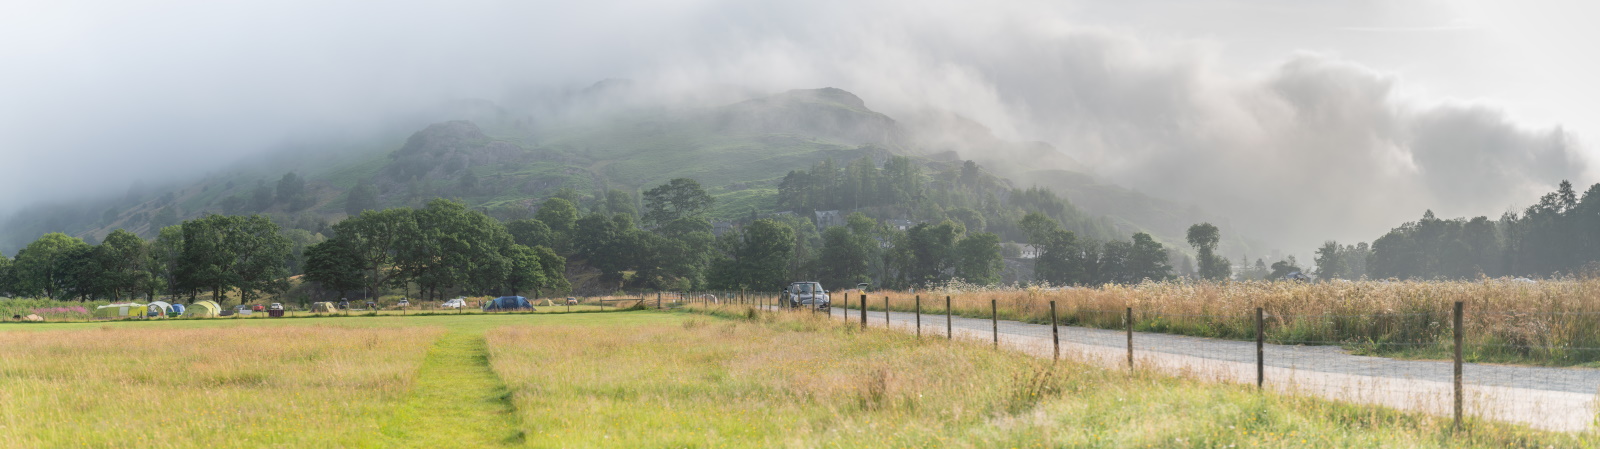
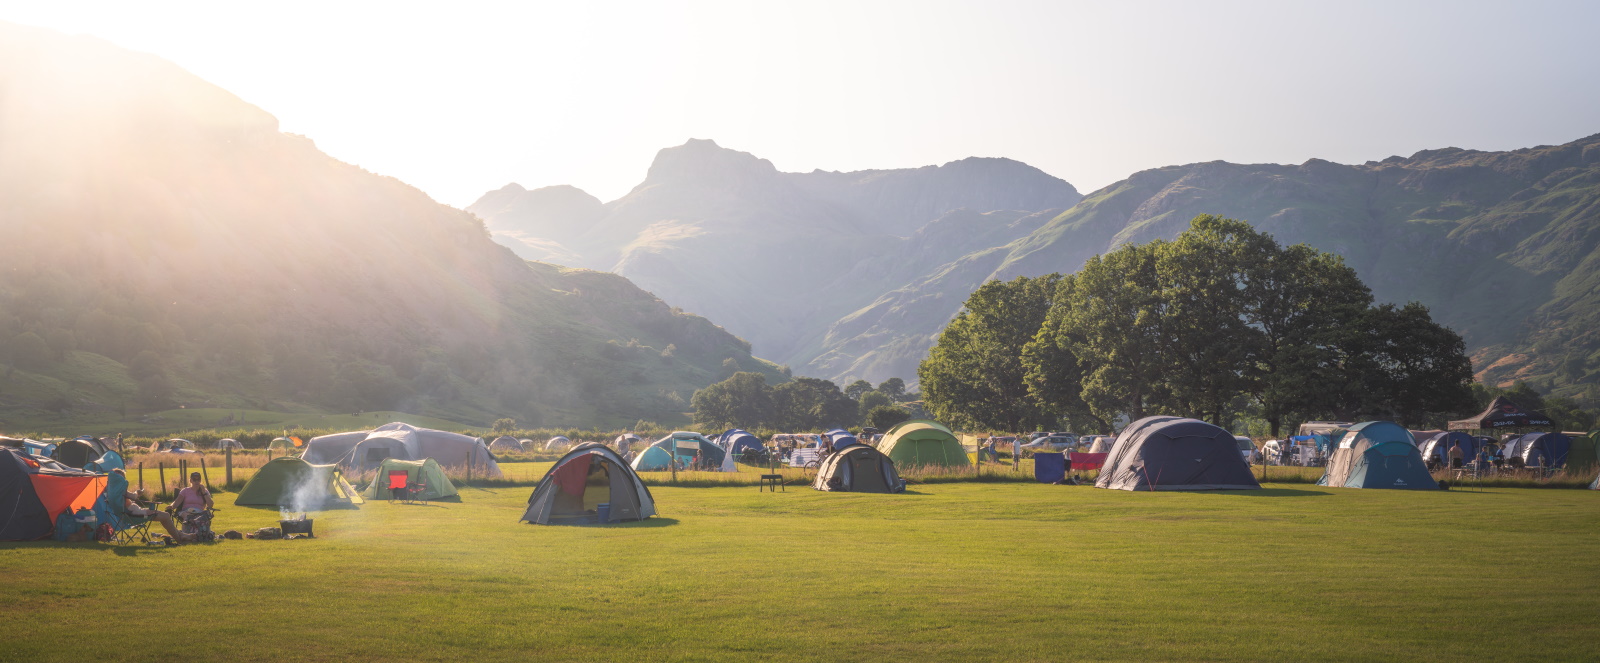
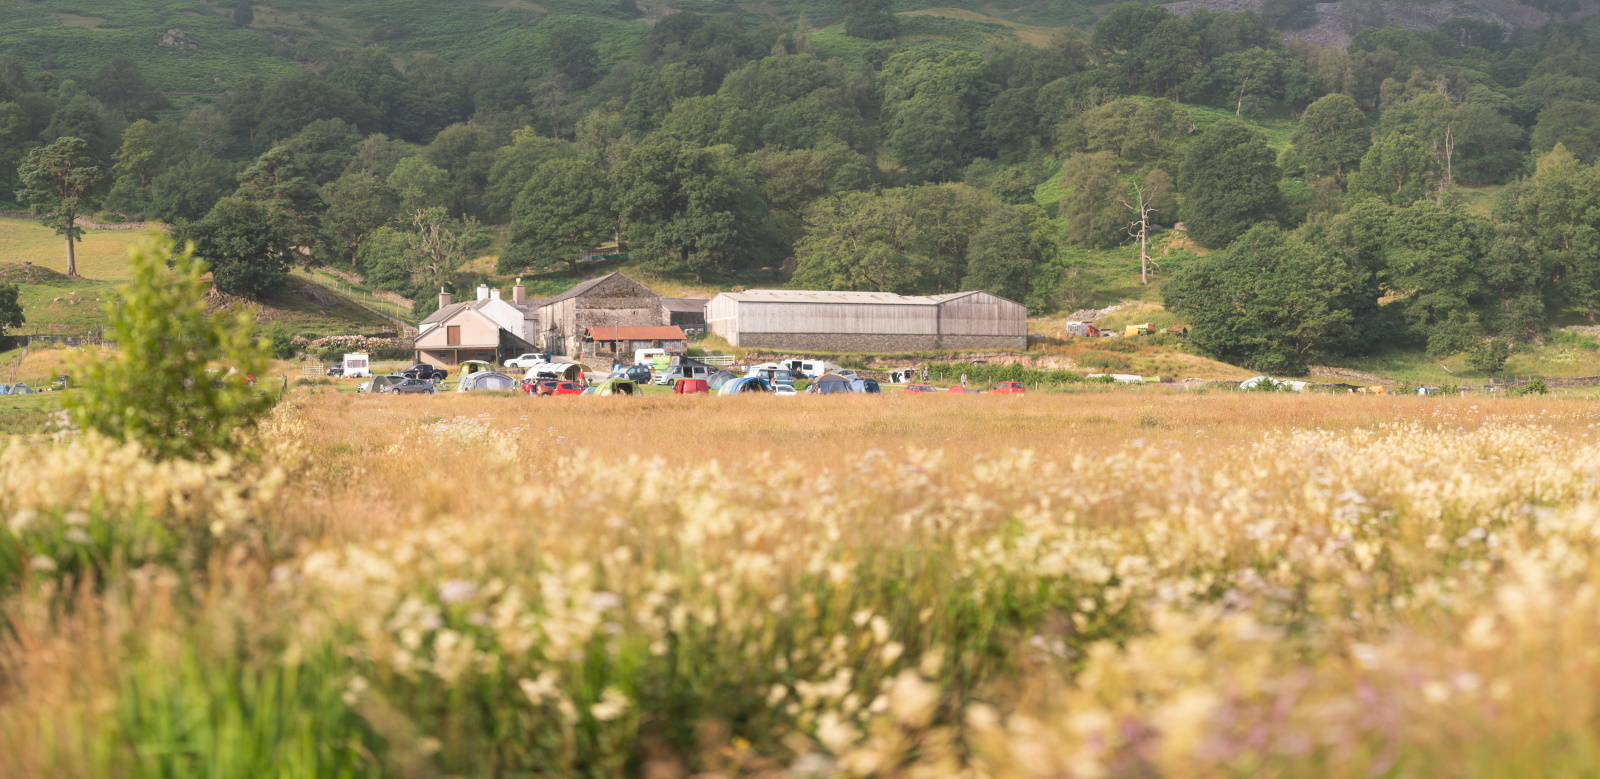
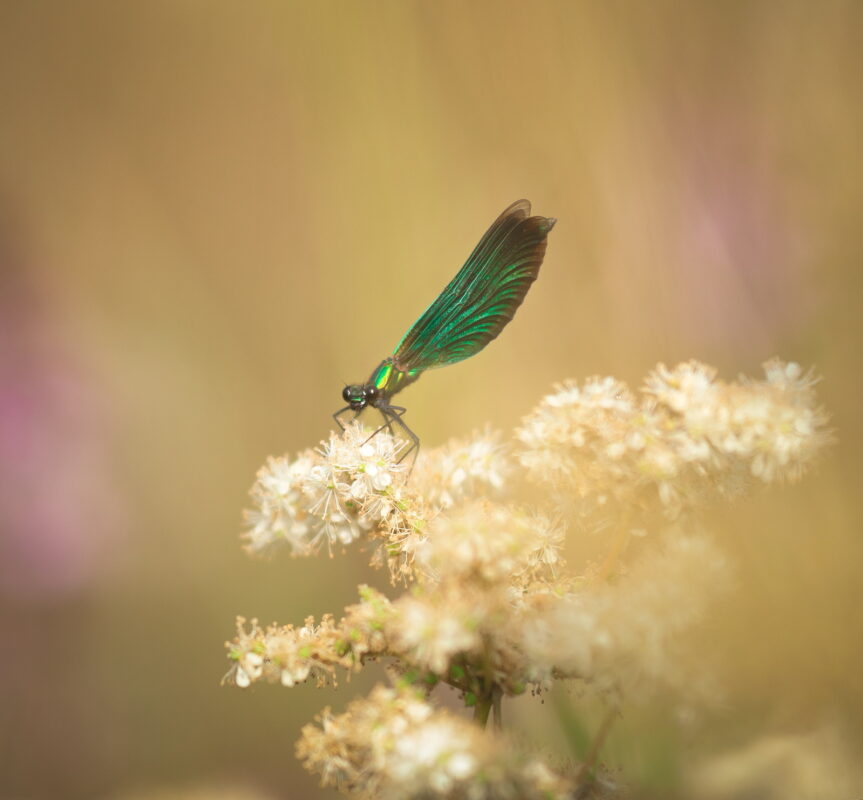
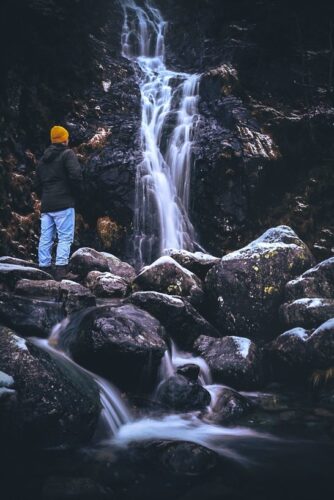
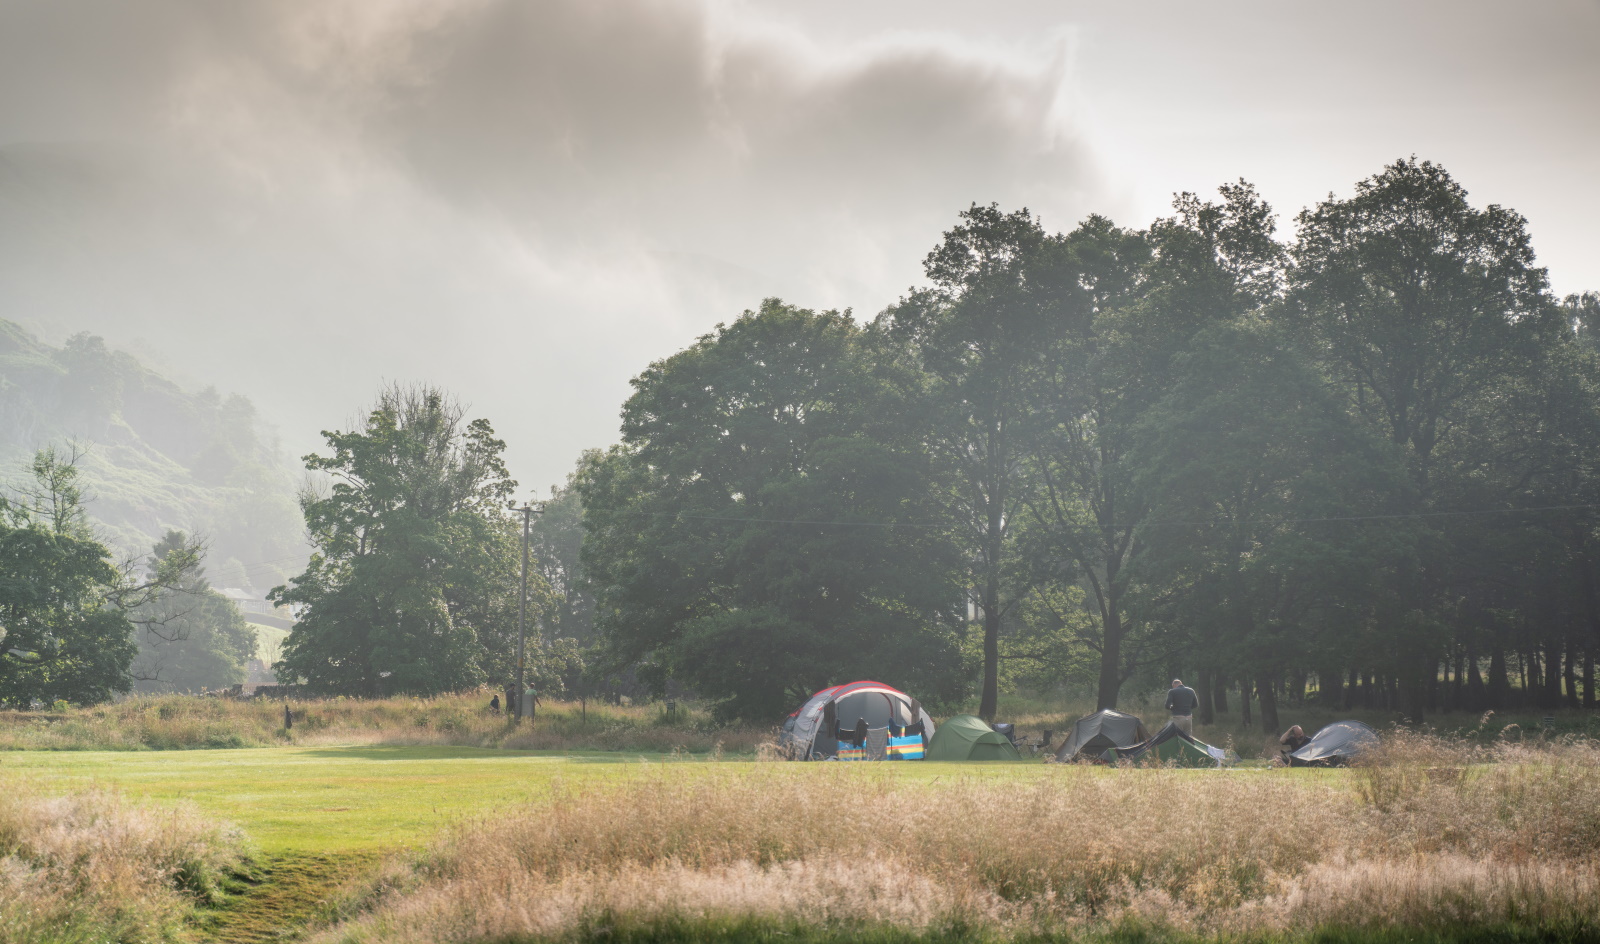
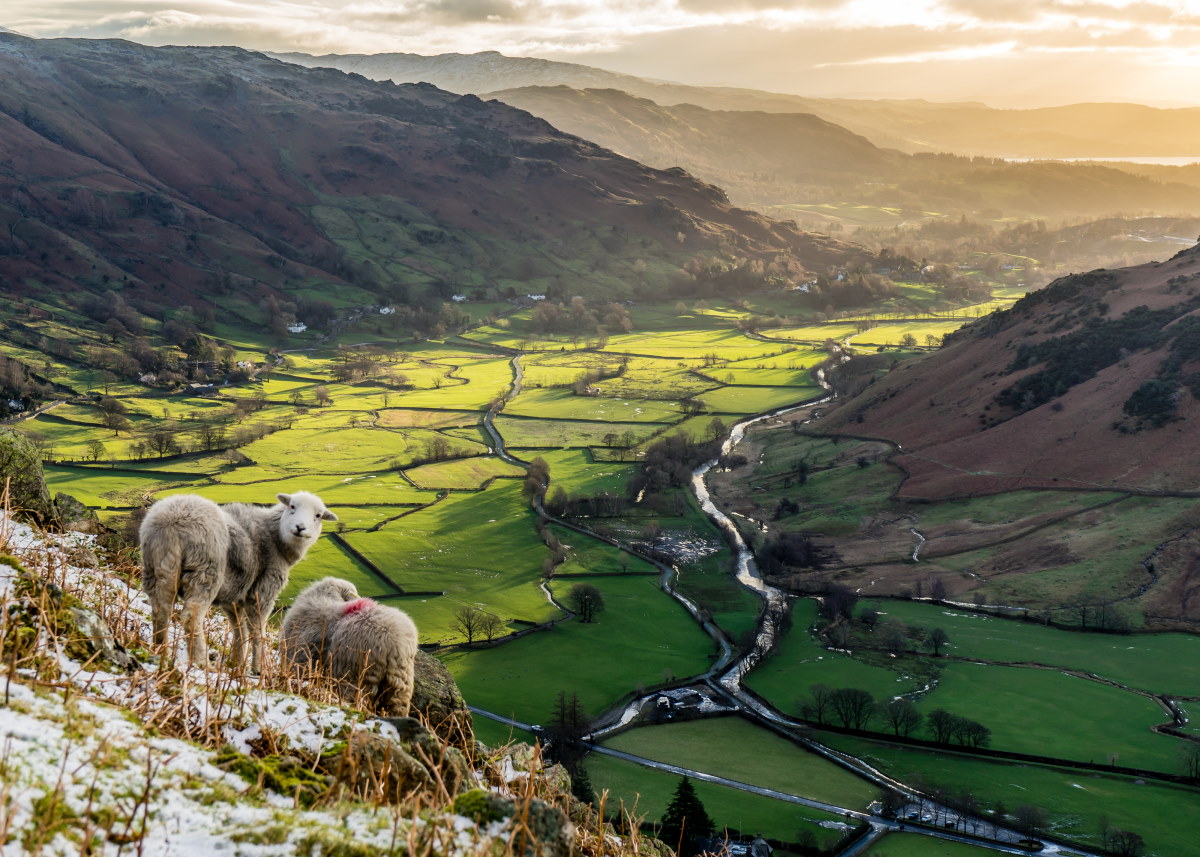
Images by JOHN SHEDWICK PHOTOGRAPHY
←
Previous Page
Home
About
Booking & Prices
Duke of Edinburgh
Terms & Conditions
Directions
Gallery
Scroll to Top